
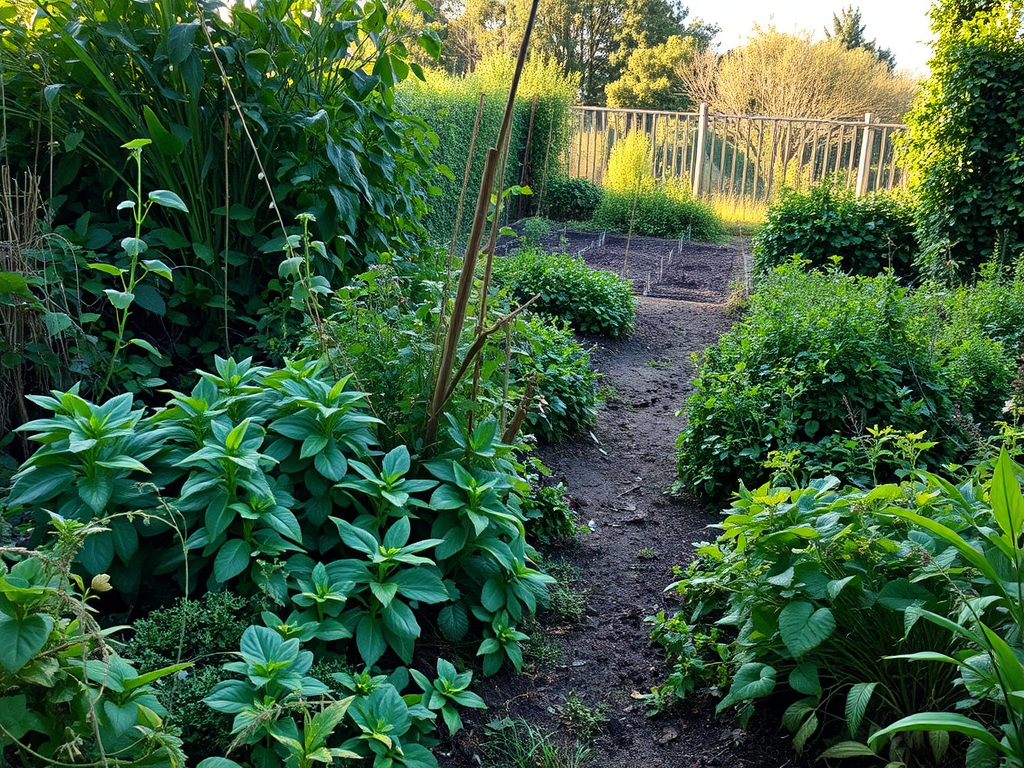
Getting your first allotment is exciting — but it can also feel overwhelming. Between clearing the plot, planning beds, improving soil, and choosing crops, there’s a lot to take in.
This guide will walk you through everything you need to know to confidently start your first allotment, even with no experience at all.
Whether you’ve taken over a wild jungle, a half-maintained plot, or a freshly rotavated space, this guide will help you make a strong start and avoid beginner mistakes.
What This Guide Covers
- How to get an allotment
- What to do the day you receive your plot
- Essential tools and equipment
- How to clear and prepare the ground
- Understanding soil and improving it
- Planning your beds and layout
- What crops to grow first
- A basic month-by-month beginner timeline
- How to stay on top of weeds and pests
- Budget-friendly tips
How to Get an Allotment in the UK

If you haven’t already secured your plot, here’s how the process works.
Find Your Nearest Allotment Site
Search your local council website for:
- “Allotments”
- “Local allotment sites”
- “Apply for an allotment”
Many councils manage several sites, and waiting times vary massively.
Expect a Waiting List
Waiting lists can range from:
- 0–6 months in rural areas
- 2–5 years in busy cities
Putting your name down early is always worthwhile.
Accept Any Size (at First)
Plots are usually:
- Full plot = 250m²
- Half plot = 125m²
For beginners, a half plot is ideal. Less overwhelming and easier to maintain.
What to Do the Day You Get Your First Allotment

Most beginners make the mistake of trying to do everything immediately. Instead, follow a clear start-up plan.
Walk the Plot Slowly
Look for:
- Weeds and their types (brambles, couch grass, bindweed)
- Existing beds
- Compost bins
- Rubbish / leftover structures
- Shady vs sunny areas
- Neighbouring plots (what they’re growing gives clues!)
Take photos — they help you track progress.
Check Your Water Supply
Locate:
- Water tanks
- Hoses permitted?
- Water key needed?
- Distance to tap (important for planning beds)
Mark Out the Boundaries
Use canes/string to mark where your plot starts and ends.
Decide What You Will Clear First
Prioritise:
- Removing hazards
- Cutting down tall weeds
- Creating one workable bed
Don’t try to do the whole plot at once — that leads to burnout.
Essential Tools for Your First Allotment

You do not need to spend a fortune. Start with these basics:
Must-have beginner tools
- Spade
- Fork
- Hand trowel
- Secateurs
- Rake
- Watering can
- Gloves
- Wheelbarrow (second-hand is fine)
Nice-to-haves (but not essential)
- Hoe (for weeding in summer)
- Compost bin
- Tarps (for weed suppression)
- A cheap shed or storage box
Buying second-hand from Facebook Marketplace, Freegle or car boot sales can save you £100s.
Clearing Your First Allotment Plot

Your starting point depends on the conditions.
If It’s Overgrown:
- Strim tall weeds
- Remove brambles at ground level
- Cover areas you won’t use immediately with:
- Black plastic
- Carpet (not ideal long term)
- Cardboard + mulch
Do NOT rotavate brambles, couch grass or bindweed — it spreads them.
If It’s Bare Soil:
- Rake the surface
- Remove perennial weed roots
- Add compost/manure
- Start shaping beds
If It Has Existing Beds:
Lucky you!
Lightly fork through them, add compost, and they’re ready to use.
Understanding Your Soil

Soil is the foundation of everything you grow.
Identify Your Soil Type
Take a handful of moist soil and squeeze.
Clay Soil
- Heavy
- Holds water
- Sticky
- Slow to warm in spring
Sandy Soil
- Drains fast
- Warms early
- Needs more feeding
Loam Soil
- The ideal
- Easy to work
- Holds moisture but drains well
Knowing your soil helps you choose the right crops and amendments.
Improving Your Soil (Easy Beginner Methods)

You don’t need chemicals — just organic matter.
Add:
- Compost
- Well-rotted manure
- Leaf mould
- Mulch (woodchip, straw, grass clippings)
Avoid:
- Fresh manure
- Overdigging
- Removing too much topsoil
The soil will improve naturally each year.
Planning Your First Allotment Layout

Good planning saves time for years.
Choose a Bed System
Most beginners choose:
- Raised beds
- No-dig beds
- Traditional ground beds
No-dig beds (recommended):
- Less weeding
- Better soil structure
- Easy for beginners
- Great for worms
Plan Key Areas
Place:
- Composting area
- Shed
- Water access
- Paths
- Growing beds
- Polytunnel/greenhouse (if allowed)
Start Small
A beginner-friendly layout might be:
- 4–6 growing beds
- 1 compost area
- 1 water access path
- Future expansion area covered with tarps
What to Grow on Your First Allotment

Start with crops that are:
- Easy
- Productive
- Beginner-friendly
- Forgiving of mistakes
Top Crops for Beginners
- Potatoes
- Garlic
- Onions & shallots
- Runner beans
- Peas
- Courgettes
- Beetroot
- Radish
- Lettuce
- Kale
- Broad beans
- Chard
These crops grow reliably in almost all UK soils.
Avoid These in Year One
- Cauliflowers (very picky)
- Celery
- Sweetcorn (needs warmth)
- Aubergines & peppers (need heat)
- Celeriac (long season)
We also have a full month by month breakdown to provide information on the essential allotment jobs to complete each month here.
Dealing With Pests on Your First Plot

Common beginner pests:
Slugs
- Use beer traps
- Copper tape
- Slug wool
- Pellets (use wildlife-friendly versions)
Pigeons
- Net brassicas
- Use canes + mesh
Cabbage White Caterpillars
- Netting is essential with 7–8mm mesh
Rabbits
- Low fencing if your site allows
Prevention is easier than cure!
How Much Time Will Your Allotment Take?
Beginners should expect:
- Winter: 0–1 hours/week
- Spring: 2–4 hours/week
- Summer: 3–5 hours/week
- Autumn: 1–3 hours/week
The more organised your beds and paths, the less time you spend on weeding.
Common Mistakes Beginners Make

Avoid these to save time, money and stress.
- Trying to clear the whole plot at once
- Taking on too big a plot
- Overwatering seedlings
- Planting too early in cold spring weather
- Not netting against pigeons
- Neglecting paths (leading to weed spread)
- Growing too many tricky crops at first
Master the basics — then expand.
Starting your first allotment is more than just growing food — it’s learning new skills, connecting with nature, and creating a space that truly belongs to you. There will be weeds, wonky carrots and a few surprises along the way, but every hour you spend on your plot is an investment in something deeply rewarding.
Take it slowly. Celebrate each small win. Ask questions, experiment, and enjoy the process of watching your hard work come to life. Your allotment doesn’t need to be perfect — it just needs to be yours.
With patience, consistency, and the guidance in this guide, you’re already far ahead of most first-year gardeners. Here’s to a successful first season and many more fruitful years on your allotment. Happy growing!
Leave a Reply